Onetone Tutorial
How to Create a One Page Site with WordPress
WordPress Tutorial Introduction
WordPress hosting is the easiest and most common way to power a professional, functional website without having to know anything about coding or web design. Then again, if you do have html skills, WordPress hosting provides you with the flexibility to fully customize your site.
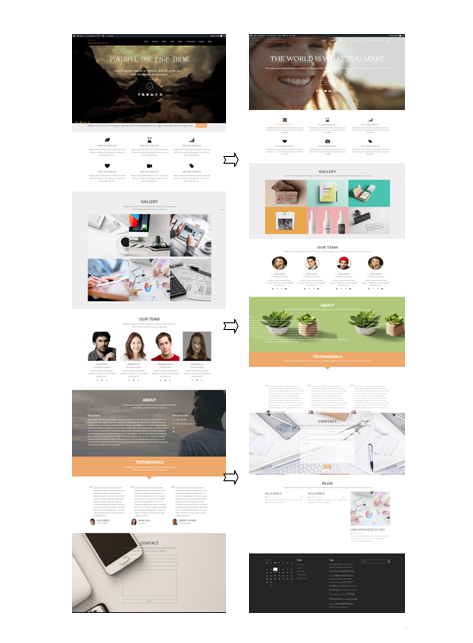
Today we will provide free resources for WordPress such as free to download professional, high quality themes and use WordPress to create website tutorials. How to change the demo date to the website you wish.
WordPress Theme - Onetone will be used in this tutorial.
Sites that follow these simple steps will likely get available layout and website.Of course, you can customize your personal style website.
- Step 1: Installing WordPress theme Onetone
- Step 2: Setting a static “Home” page
- Step 3: Setting video background
- Step 4: Customizing header
- Step 5: Adding blog link to homepage main menu
- Step 6: Setting section content
- Step 7: Setting footer
Step 1 : How to install Onetone WordPress theme
Foreword: Before installing WordPress theme, please make sure you have installed WordPress on your site. If not, you could donwload from WordPress official site.
1.Download & Install Onetone WordPress theme(2 ways)
- Download the theme by WordPress dashboard
Go to Dashboard -> Appearance -> Themes -> Add New -> Input “Onetone” into search box-> Click “Install” -> Download and Install online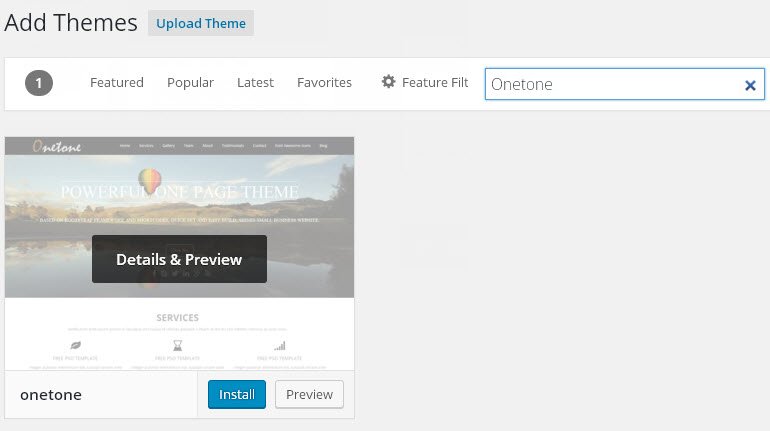
- You could also download the installable theme file from wordpress.org or our official site -> Save it in your device -> Go to Dashboard -> Themes -> Add New -> Upload Theme ->Upload the installable file you download before
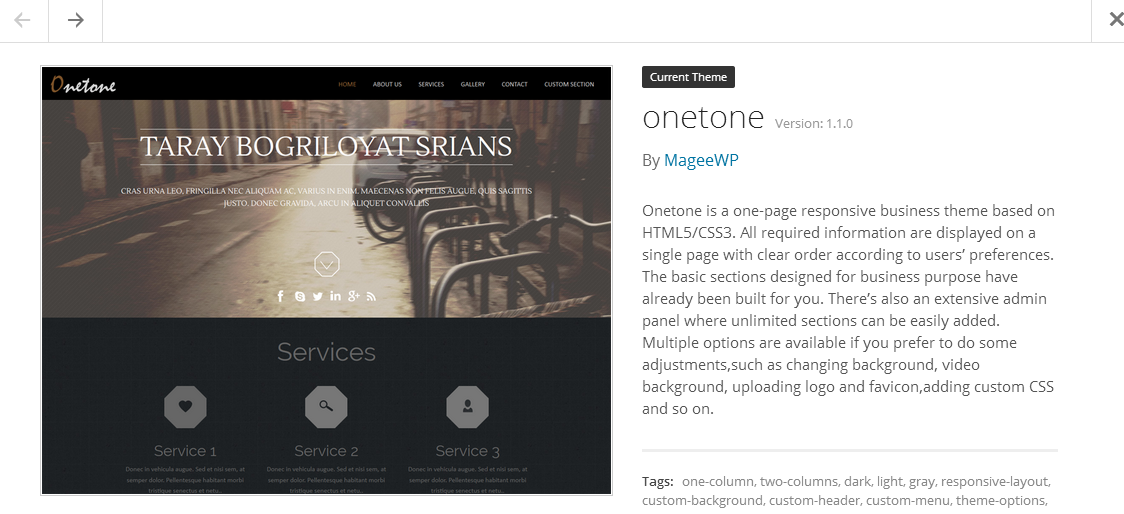
2?Activate the WordPress Theme—Onetone
- You could click the activate link after the theme being installed.
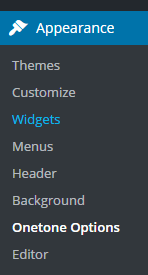
- Or you could go to Appearance -> Themes
By hitting the correspondent “Activate” link to activate the theme.
Step 2: How to set a static “Home” page
- Go to Dashboard -> Settings -> Reading
- Set Front page displays to a static page
- Check “A static page (select below)”
- Make sure in the drop down menu for Front Page select no item
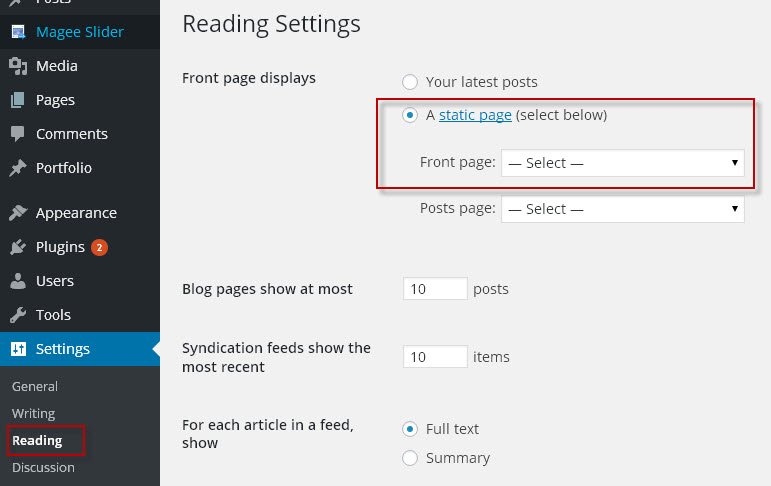
- Save changes.
Step 3: How to use video as background
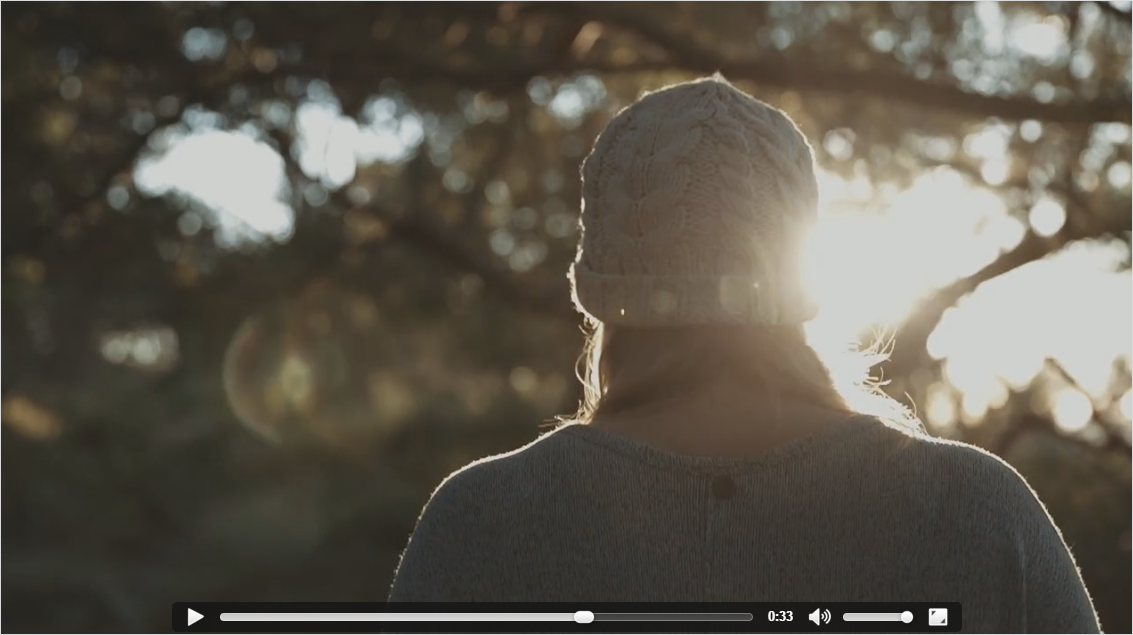
Nowadays advertisement is essential part of most of the websites on the Internet. It is common practice to use slider and video as background. Video background can be used any of section in WordPress while slider will simply appear in banner-section.Video can create more fantastic visual effect and interfaces. In this tutorial we will show you how to set video section background. For the purpose of this tutorial we will use the Onetone theme.
- Go to Appearance -> Onetone Options -> Homepage -> YouTube Video Background Options

- Open the YouTube video which you want to use as background video in browser. Find the ID and copy it.

- Paste the ID into “YouTube ID for Video Background”
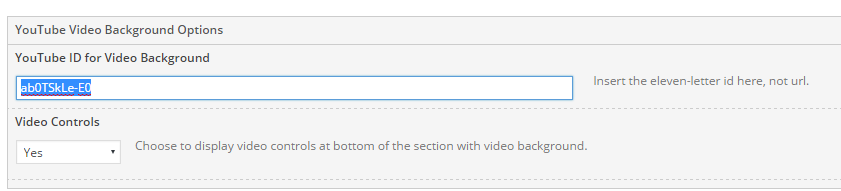
- Select the order of video background section, video background will be set in section 1 banner in general. You can set it according to your needs.
In addition, don’t click “Choose to display default slider instead of section contents here”.
Step 4: How to customize header
Usually, Websites are judged by their covers and the first impression often comes from the header. The header of your site is typically the first thing people see.Header logo,header text (site title, tagline),menu comprise header.
1.Set site title and tagline for header
The theme customization page allows you to modify your site’s title and tagline and see how it will look on your actual site immediately.
- Click “Customize“

- Go to "Site Identity" and click it
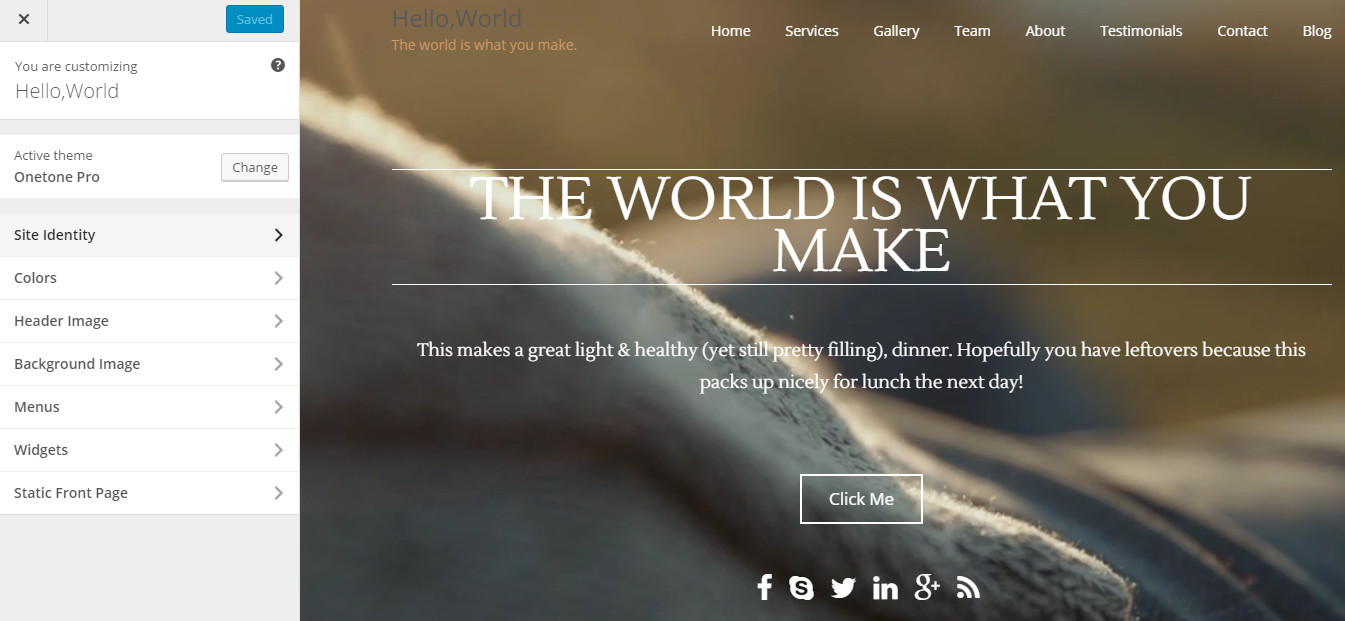
- Give your site title in “Site Title” and your tagline in “Tagline“
Note:Click “Display Header Text“. If you want to hide it, don’t click it.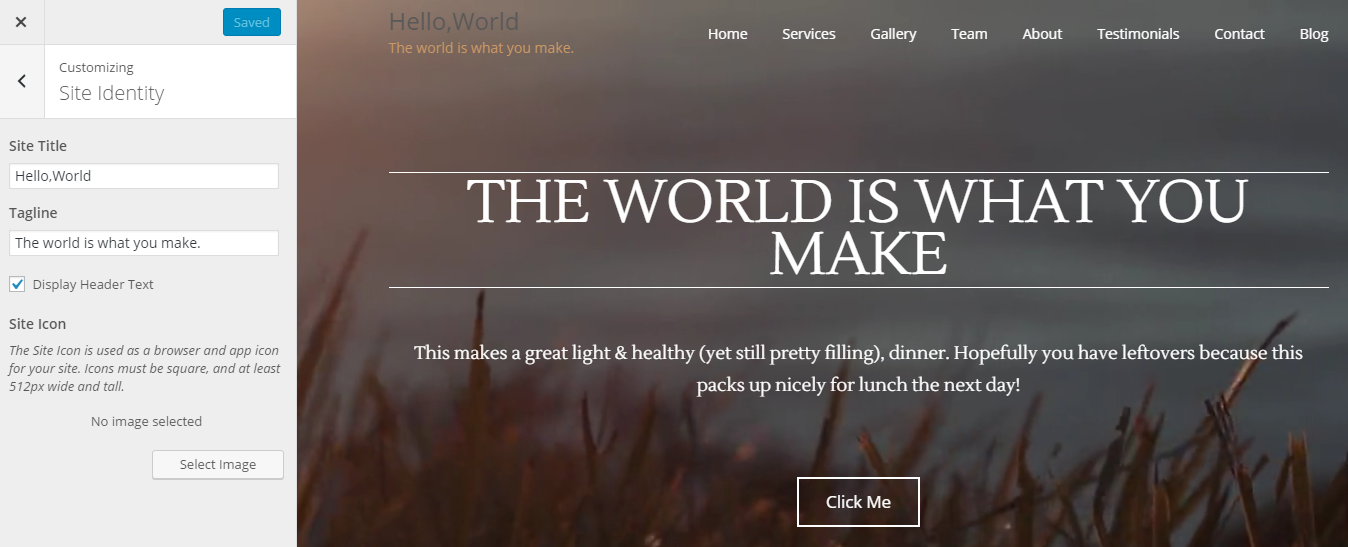
2.Upload logo for header
- Go to Onetone Options -> Logo
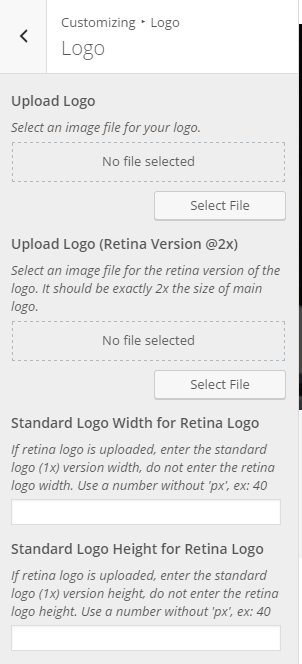
- Upload your logo in “Logo”section
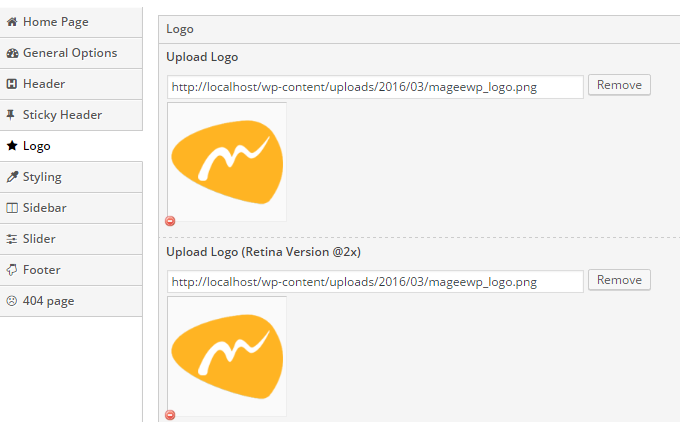
- Remember to click “Save Options”.
Step 5: How to set section content
By default, there are 9 sections in homepage. A total of 15 sections are in wordpress dashboard. So you can customize each section according to your requirements. If you know html and shortcode so well, you can get more style for your websites.
Click “Hide this section on the front page”, the section will disappear in the home page.
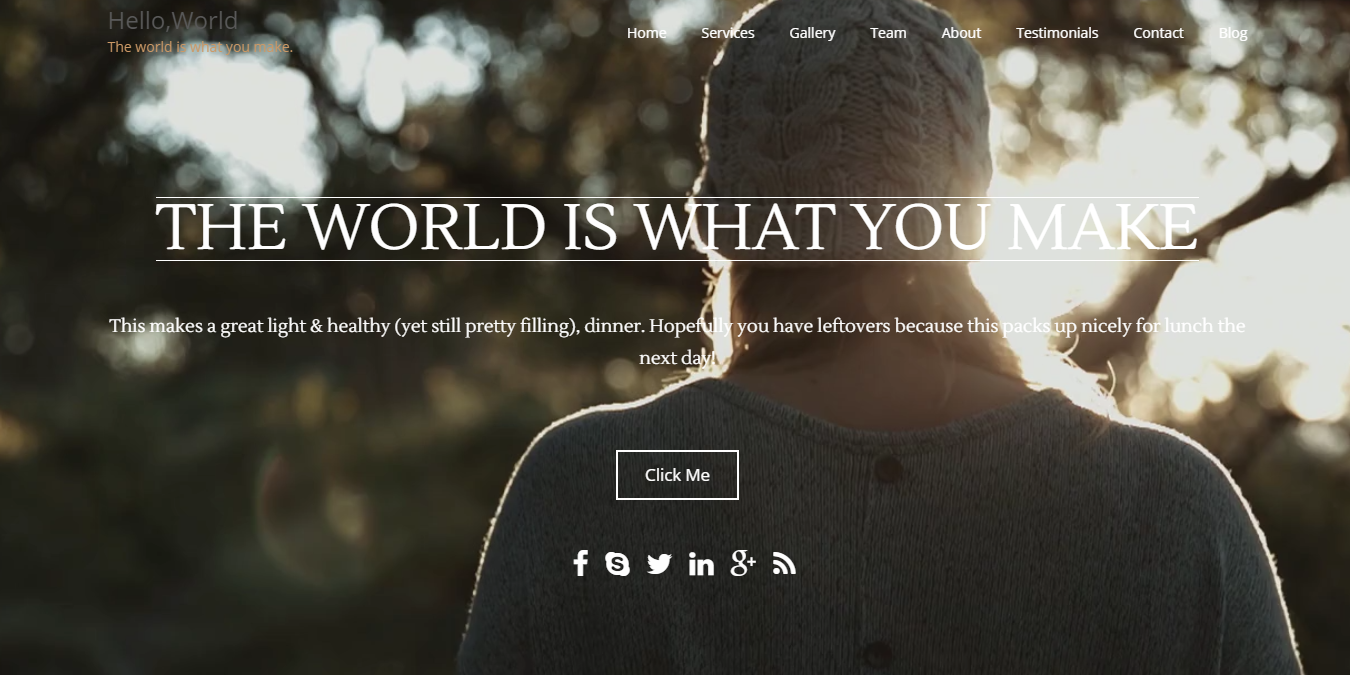
1.Banner section
Banner is the first part in the homepage, it is usually used to show the most important info. The following picture is the banner section’s structural chart, if you want to link to another page, you can add link to button text “click me” and social icons.
How to get it?Following the steps to do exactly steps.
Go to Appearance -> Onetone Options -> Home Page
Expand the Section 1 - Banner tab and you’ll see the available options.
- Turn the default section title to the title you wish
- Insert Menu Title “Home”
- Insert Menu Slug “home” (The “slug” is the URL-friendly version of menu title. It is usually in lowercase and contains only letters, numbers, and hyphens.)
-
Set section Background
- Select color -> select any color and any image that suits your business identity.
- Click “Remove” -> Upload -> Check “Upload Files/Media Library” -> Click picture you want -> “Save”
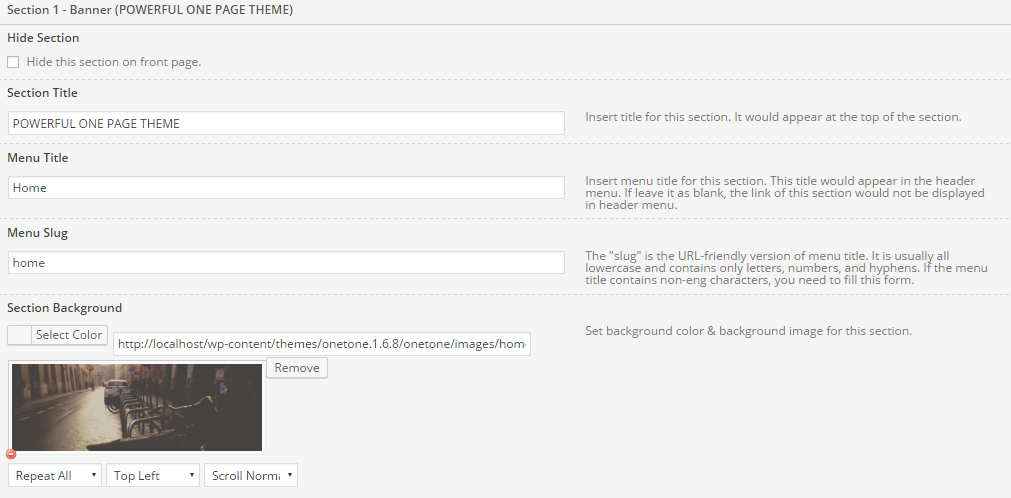
Attention!!!
Video background was set to section 1 background, therefore, this part’s section background will be covered with video background, and the section background will disappear in the banner section.
Go to Section Content Model Select “default” in Section Content Model.
(Default and Custom are available for you to choose. If you know html and shortcode well?custom model is a good choice for you to provide more various style layout.)
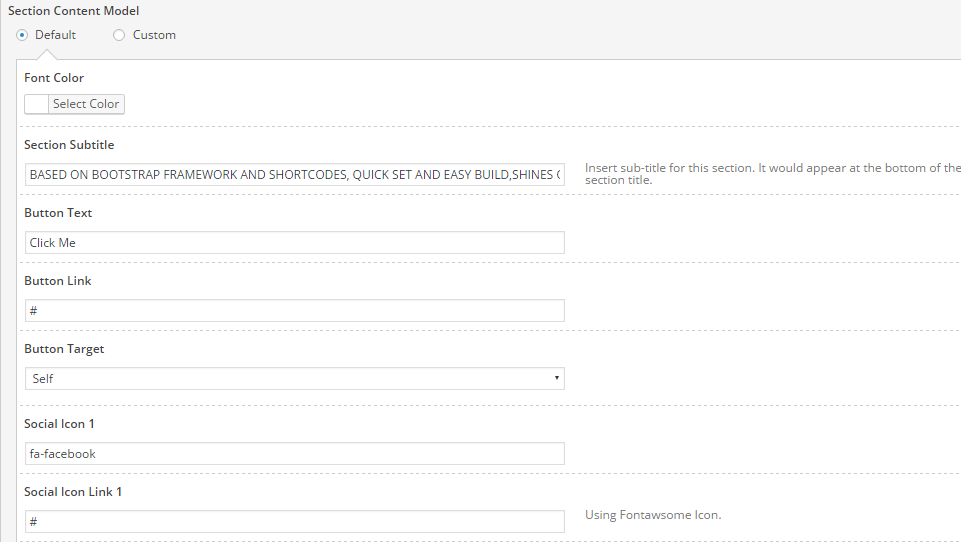
- Change Section Subtitle
- Set Button text
- Add Button link, you can get touch with another page when click it.
- Choose “self” in Button Target. The page will be opened in new windows
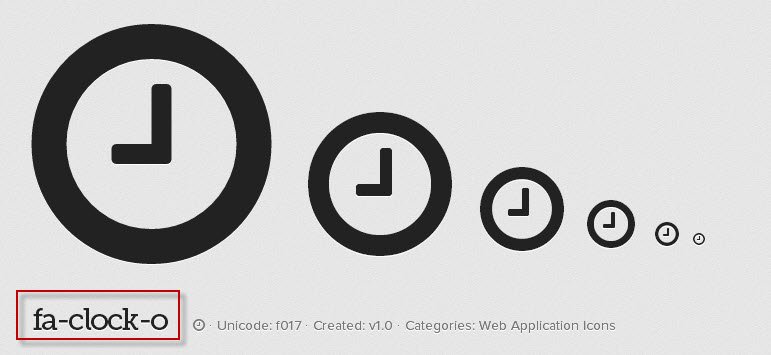
- Go to Fontawesome to find more icon codes to take place of the sample icons in “Social Icon”. (You simply need to copy the code and paste it into corresponding field in a menu item)
- Add Social Icon Link, as “http” or “https:// ***.com”.
- Remeber to save all options
Note: 6 social icons at most can be added into this section. Adding social icon and its link are more convenient for your clients getting touch with you.
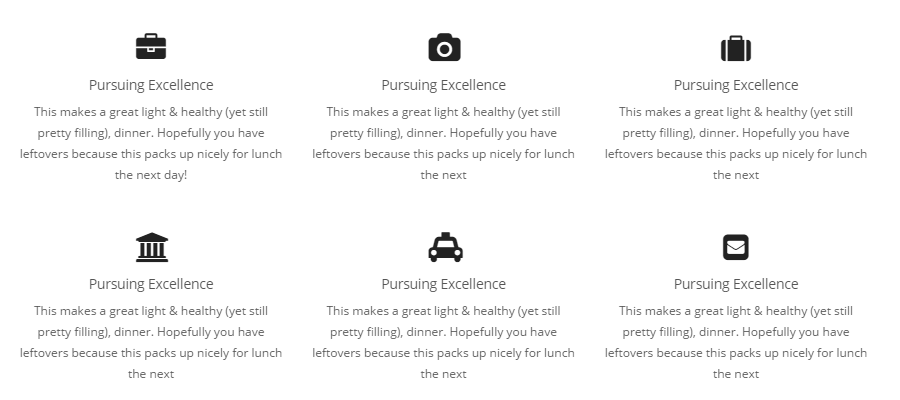
2.Service section
This section is designed for you to introduce the services from your company, the features of your product, etc.
The section have 6 items, each item consist of icon, subtitle and description. How to customize each section to you want to be?
Go to Onetone Options/Home Page
Expand the Service section tab and you’ll see the available options.

- Leave section title blank for legibility
- Input “Service” into menu title
- Input “service” into menu slug. (Usually all in lowercase and only contains letters, numbers, and hyphens since non-English words can’t be read well in some browsers.)
-
Select “Default” in Section Content Model
- Set social icons (FontAwesome Icons)
- Give your title in Service Title 1
- Add title link
- Select Link Target as “self”
- Edit some words, explanation in service description
- Consult the steps above to change the following content one by one in service title.
- Remember to click “save options”
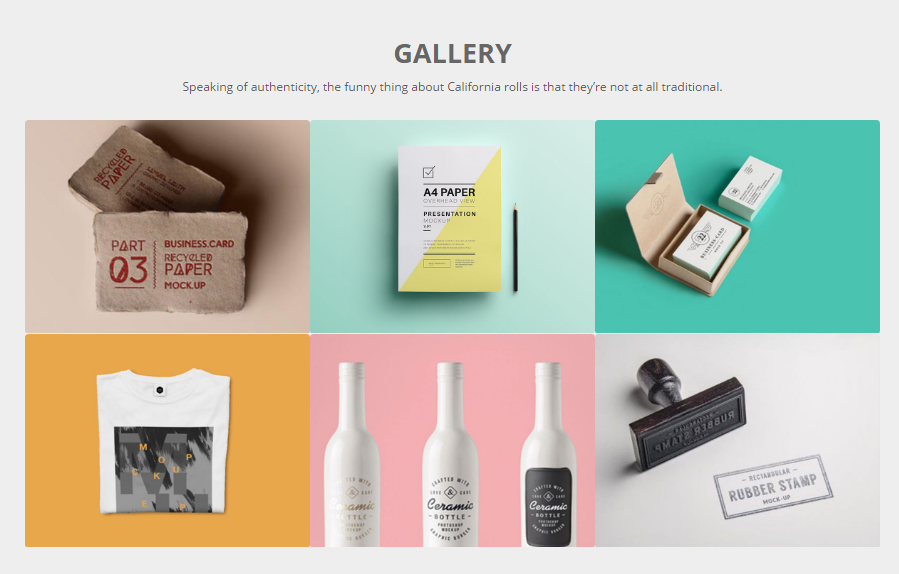
3.Gallery Section
This section is designed for you to display the pictures of your products, projects etc and provide relevant links for lead customers to other respective detailed pages, an effective way of showing and expanding your business.
Expand the Gallery section tab and you’ll see the available options
- Insert “Gallery” into Section Title
- Insert “Gallery” into Menu Title
- Insert “gallery” into Menu Slug
- Set section background
- Select “Default” in Section Content Model
- Change Section Subtitle
-
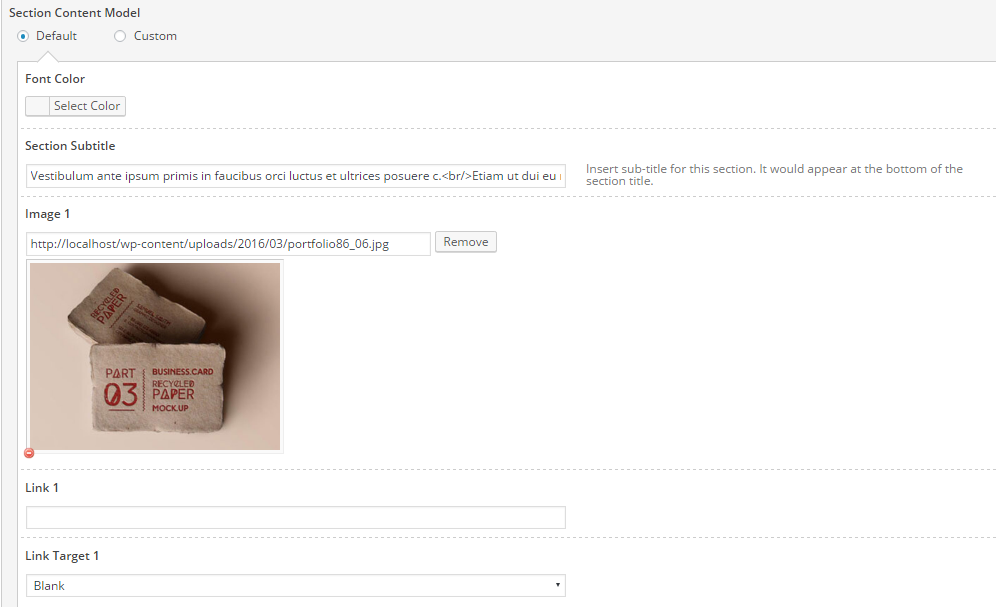
Change image for item
- Remove the default image
- Click “Upload”
- Go to Media Library to select the image you wish to use
- Finally “Select”
- Add image’s link as “https://mageewp.com” to provide more information your products or for clients
- Select “blank” in Link Target
- Following these steps can change five other pictures
- Remember to click “Save all options”
4.Team Section
The section mainly introduces your team to the public and shows your teammate to promote your business.
The following picture is the Team section’s structural map,it has 4 column.the tutorial will guide you how to set the section.

Expand “Section 5—Team” to finish all needed options
- Insert “OUR TEAM” into section title
- Insert “Team” into menu title
- Insert “team” into Menu Slug
- Select “Default” in Section Content Model
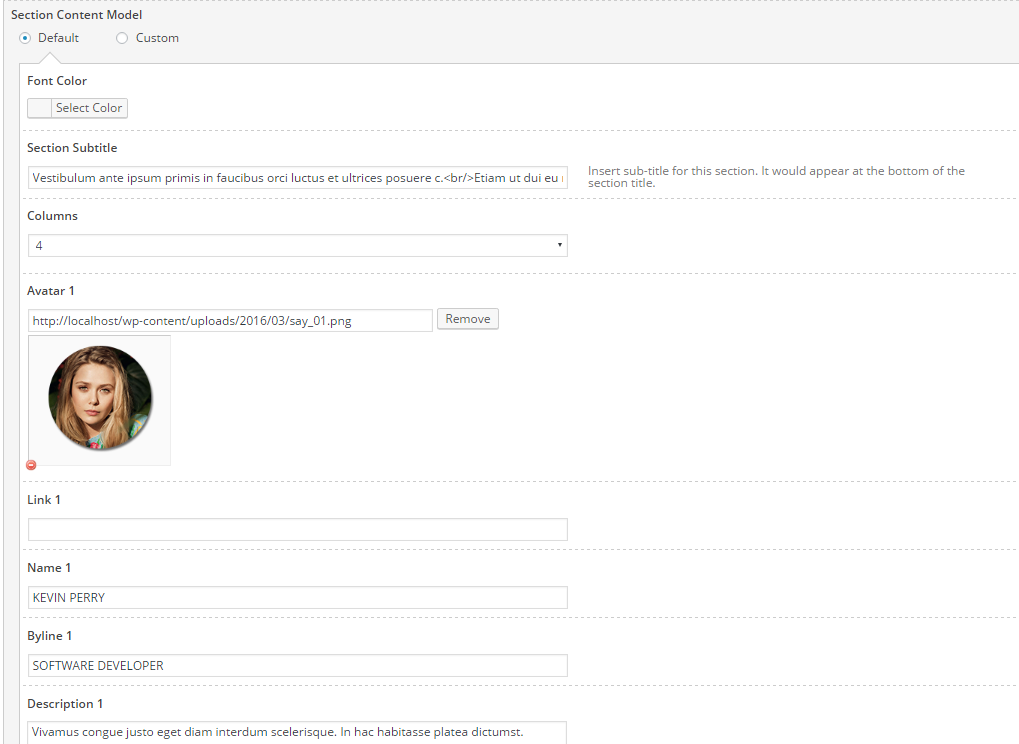
- Change default Section Subtitle to the title you wish to use
- Choose columns number “4”
- Upload avatar of your team member
- Give avatar name, byline
- Add your team description in “Description” section
- Add your teammate’s social icon, 4 social icons can be added.
- Go to Font Awesome Icons to fine icons you need. Copy and paste it.
- Check “Save all options”
In this section, 8 people at most can show in your homepage, therefore you can set columns number and avatar number according to your requirements.
5.About Section
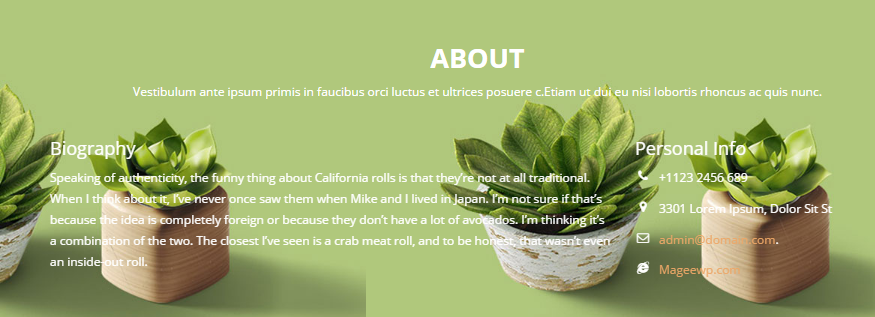
“About” section is a part to present the basic information of you or your company.
This is the structural map of About section
Go to Onetone Options/Home Page
Expand the Service section tab and you’ll see the available options.
- Insert “ABOUT” into section title
- Insert “About” into menu title
- Insert “about” into Menu Slug
- Set Section Background,
- Remove “Default image” -> Upload your image to suit your website
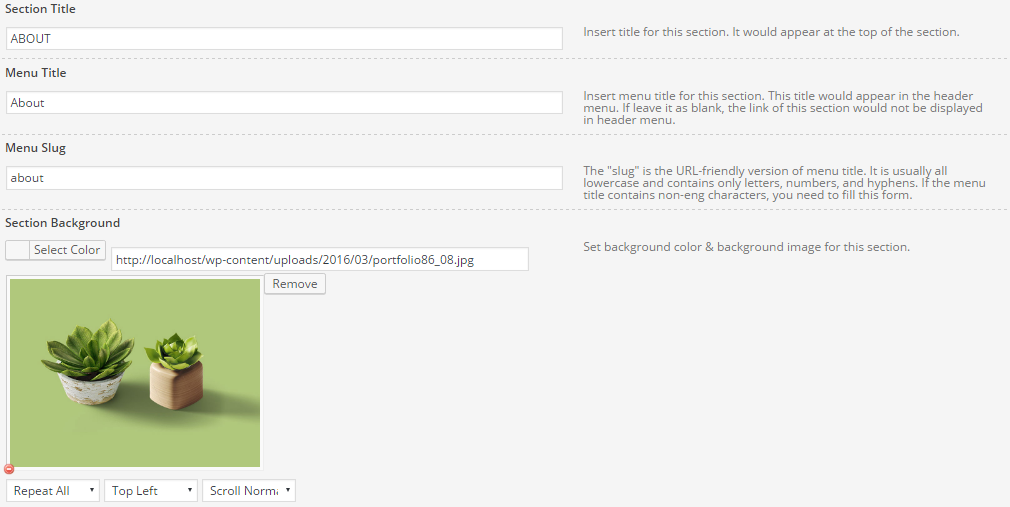
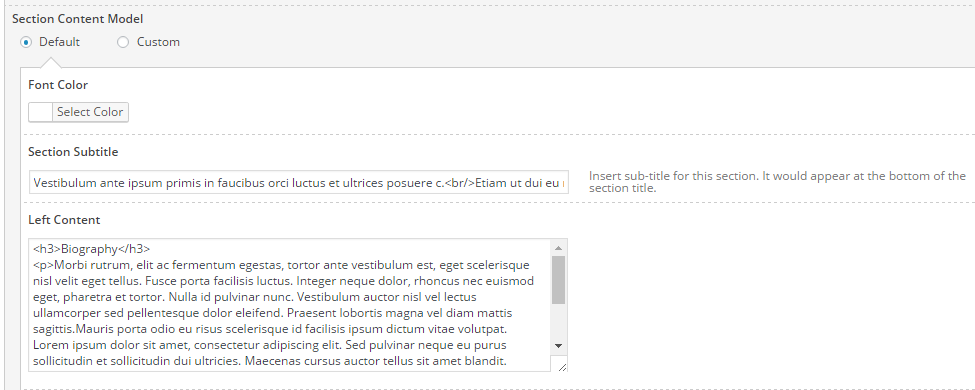
- Select “Default” in Section Content Model
- Change default Section Subtitle
- Edit your words in Left Content and Right Content
The section is divided into two parts, in general, the left content is biography, and personal information is on the right.
Its title between<h3> and</h3> can be changed.
Its content between<p> and </p> can be changed according to your needs,as shown below.
Change the content in the red box below, including phone number, address, e-mail and website.
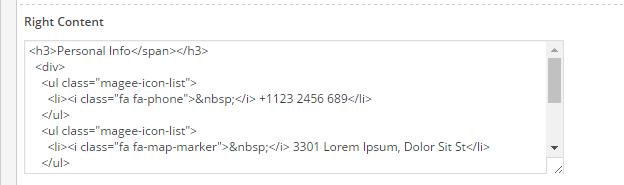
Attention!!! Edit it carefully to keeps it default structure if you know a little about html and shortcode. In addition, html and shortcode can help you get more various styles for your website.
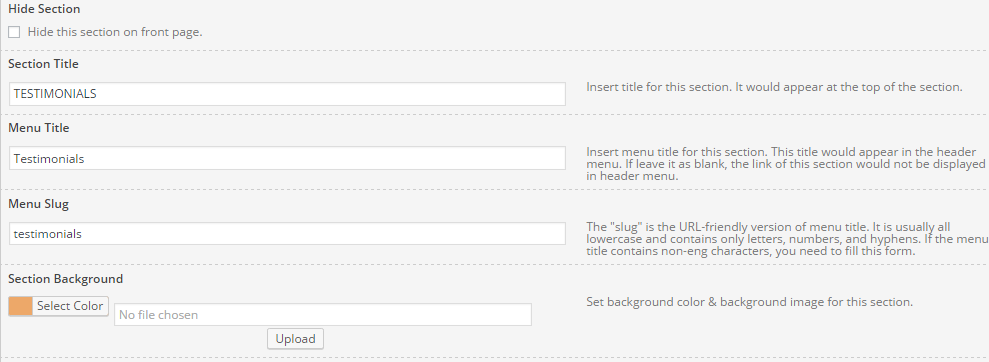
6.Custom section
This part is designed for you to customize your own section, together with section 8 are an integral part of Testimonials, the header of testimonial. The section consists of section title and subtitle, but is filled with a background color.

- Insert “TESTIMONIALS” into section title
- Insert “Testimonials” into menu title
- Insert “testimonials” into Menu Slug
- Set Section Background, select color to suits your business identity
- Select “Default” in Section Content Model

- Change default Section Subtitle
- Remember to click “Save all options”.
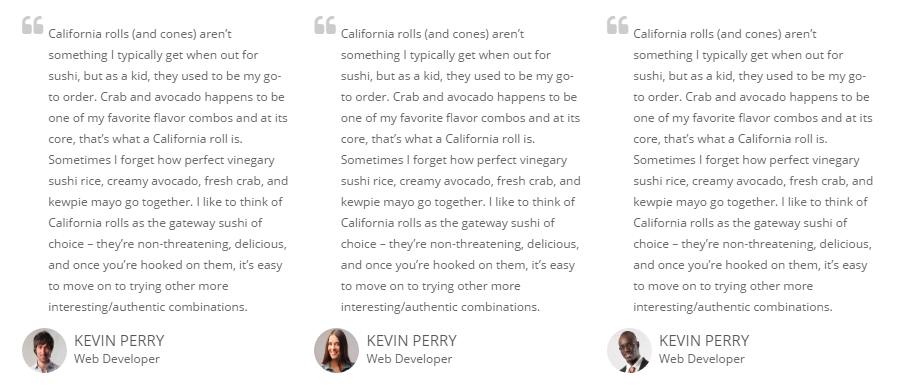
7.Testimonial section
Section 7 is header of testimonial section; it has given testimonials’ section title, menu title, menu slug, so you can keep them empty in section 8—testimonial.
The structural map as shown below, the following steps describe this procedure on how to set the section in detail.
Expand “Section 8 - Testimonial section” to finish this section
- Select “Default” in Section Content Model
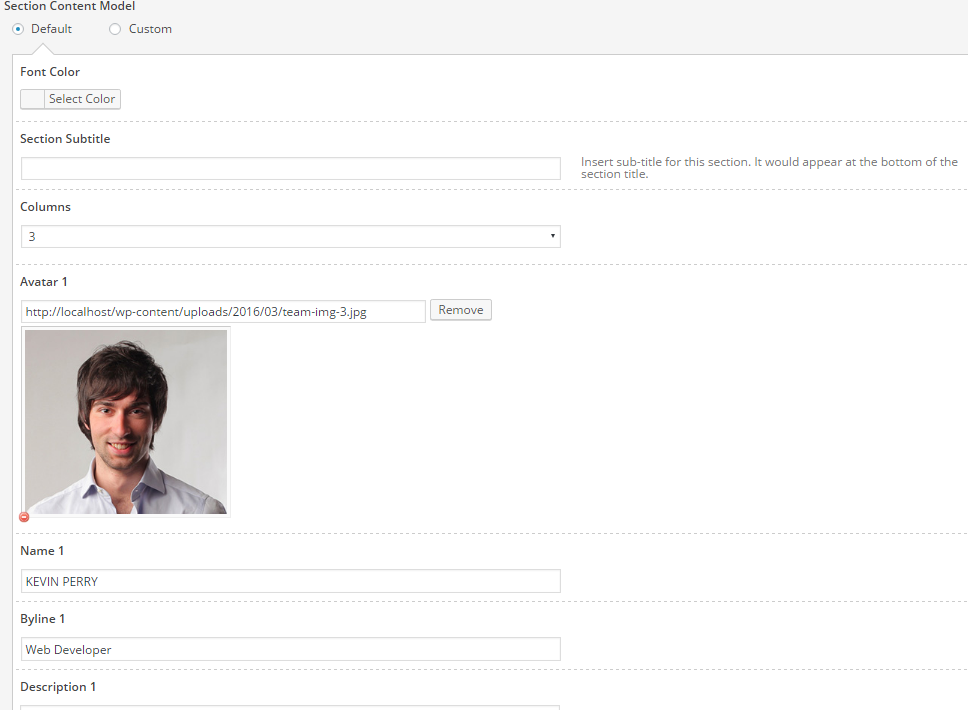
- Set column number, we choose “3” for the section
- Upload avatar of your team member
- Give avatar name, byline,
- Add your clients’ suggestion in “Description” section, this description is the feedback from your clients; similarly, 8 clients at most are available.
- Remember to click “save all options”
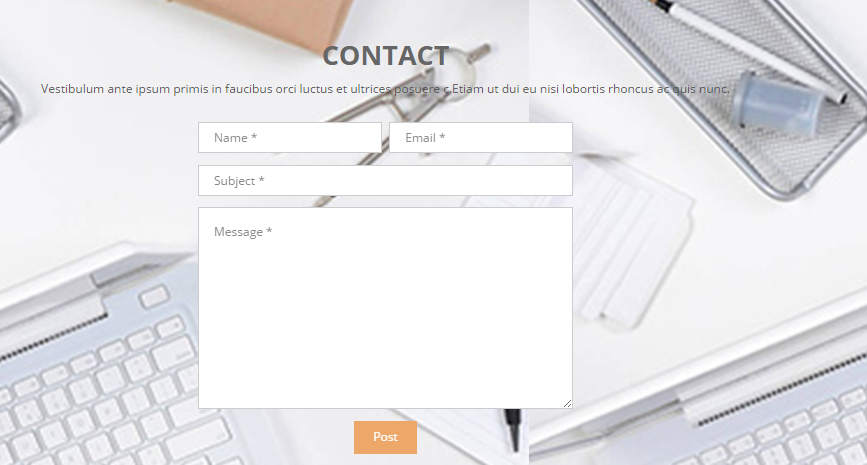
8.Contact Section
This section is designed for your customers to leave a message to you. This is the overall effect and its structural map, your customer can fill in his name, e-mail to leave a message to get touch with you.
Expand contact section and you will see all options
- Insert “CONTACT” into section title
- Insert “Contact” into menu title
- Insert “contact” into Menu Slug
- Set Section Background
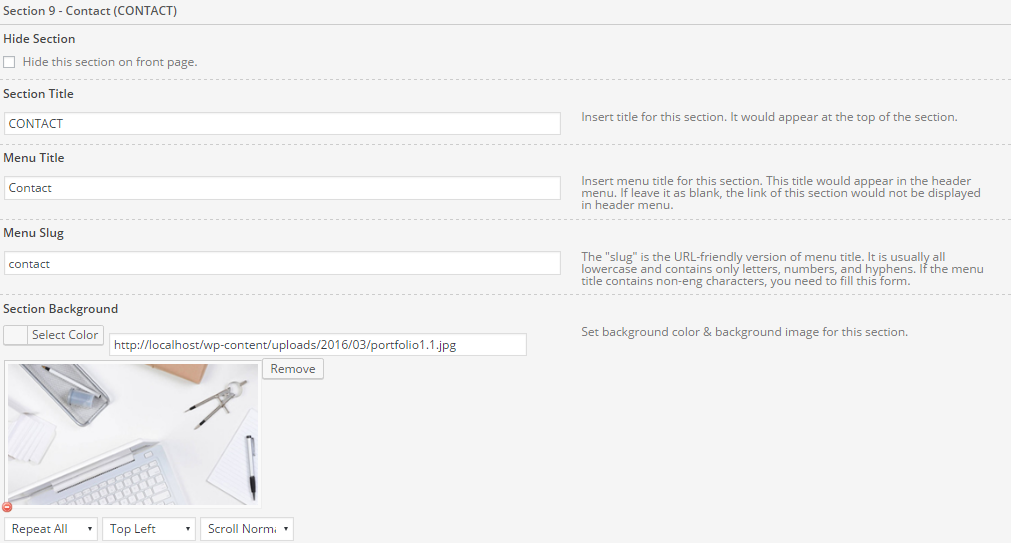
Remove default image -> Upload the image you need to use - Select “Default” in Section Content Model
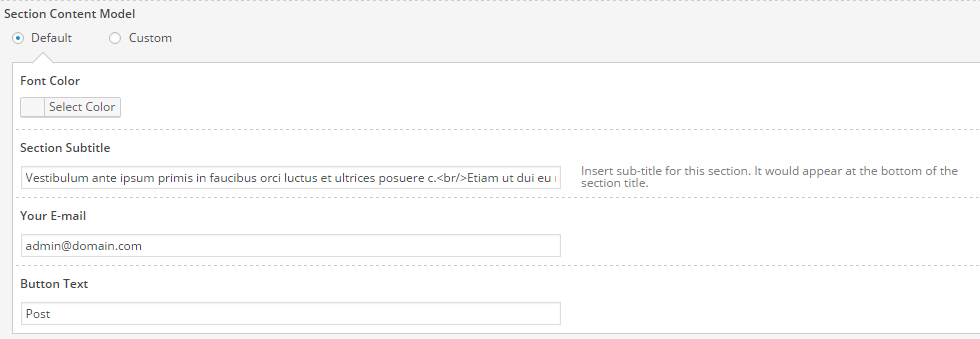
- Turn Section Subtitle into the section title you want it to be.
- Add your email in Your E-mail
- Insert word to Button Text.
- Remember to click “Save all options”
Step 6: How to add blog link to homepage main menu
Make it as easy as possible for your visitors to find the most important pages on your website is an essential task you should focus on when setting up and maintain your WordPress website.
By default you will see Home, Service, Gallery, Team, ect in the front page menu.
You can create multiple menus and choose which menus to use in the wordpress. How many you can display at once depends on your theme.
The tutorial will guide you how to add a new Page as a menu item.

- In your dashboard go to Appearance >Menus
- Check Blog to Add to Menu
- Check Home Page Header Menu
- Save changes
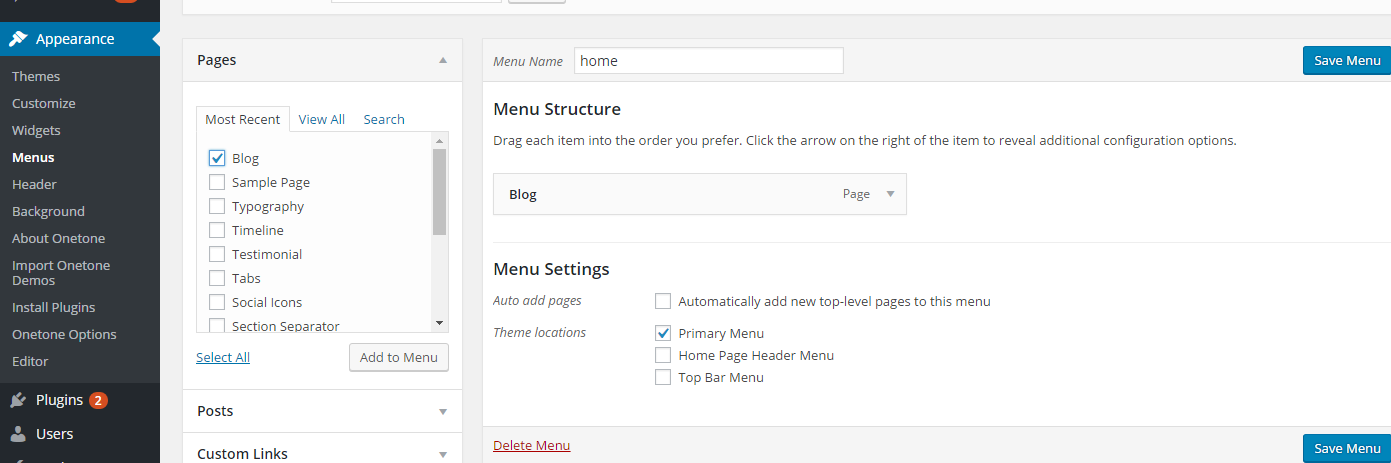
You can also add any additional pages and links you’d like.On the left you have your pages, links, and categories. The categories will also display your custom post types and taxonomies.
Note: Before a new page can be added to your menu, you must first create a page “blog” and publish it.
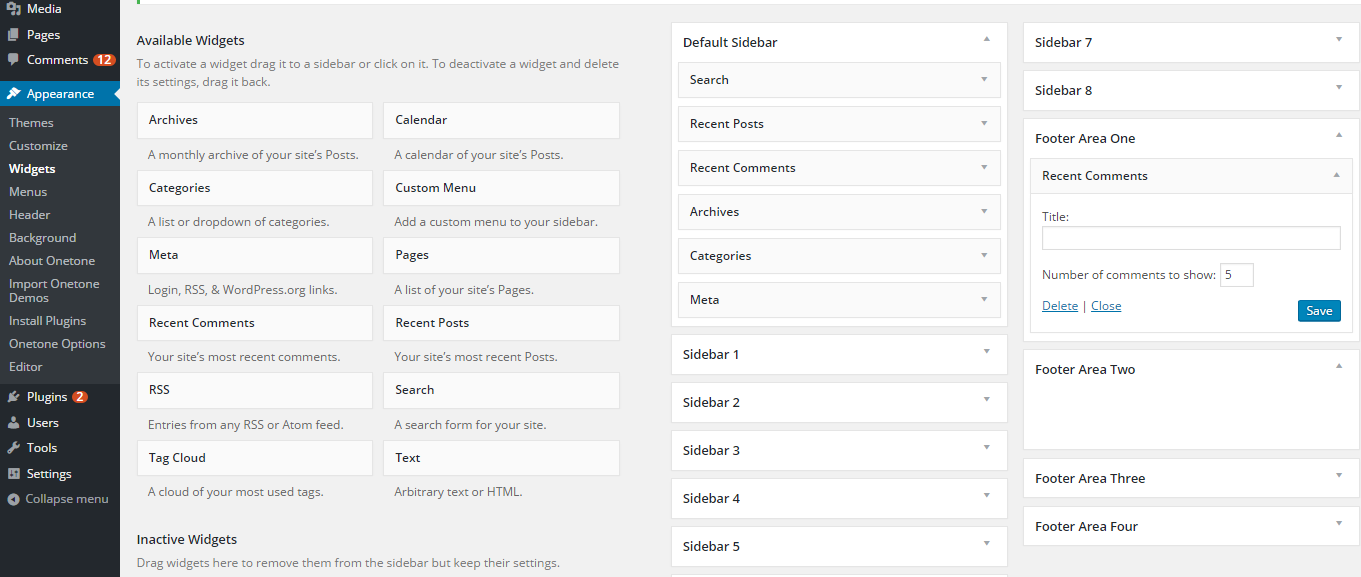
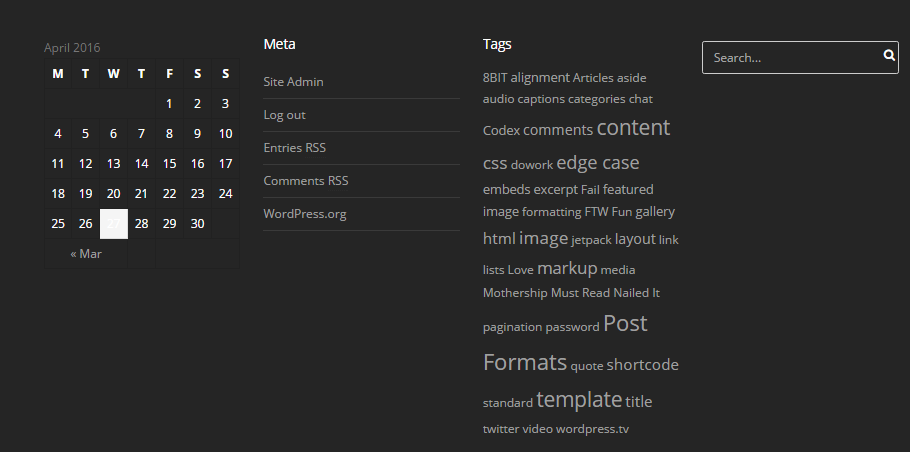
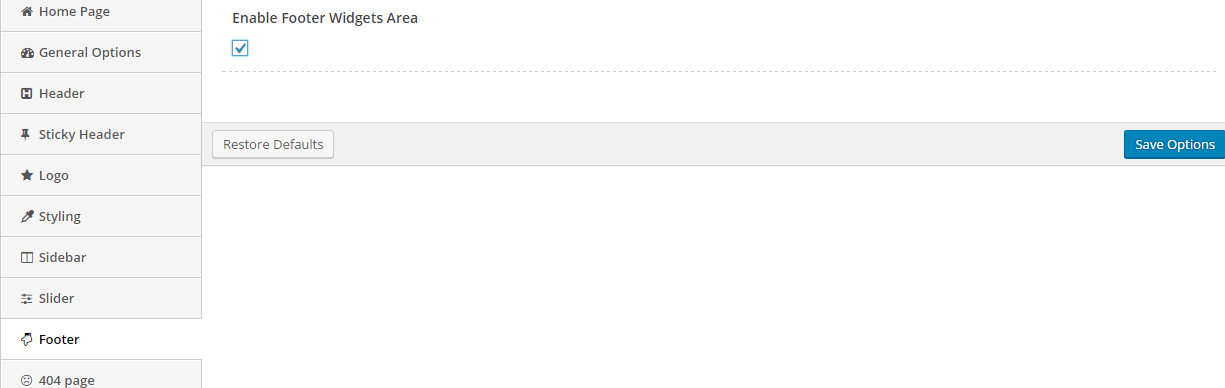
Step 7: How to Set Footer Widgets Area
WordPress widgets are useful, and knowing how to make them is even more so.
Today we’re not going to talk about where and how a user can fiddle with footer widgets area, nor how to make them for yourself
Go to Appear/Onetone Options/Footer
Check ” Enable Footer Widgets Area”, the widgets area will appear in the bottom of the page.
Go to Appearance/Widgets
Widgets can be ordered by dragging them with your mouse. Fill sidebar title and hit the “save” button in the right side of the page. New widget will appear in the widget area list. You can also remove widget area by clicking the “delete” link inside the correspondent widget area.