WordPress Theme Guide: Magee
Installation
It is pretty easy to install Magee theme to your site. After downloading the theme, you will get a magee.zip file, which contains necessary templates and images for the them to work properly.
- Go to Appearance > Themes in the WordPress Dashboard
- Click on the Add New button
- Click on the Upload link
- Select the magee.zip file
- Click Install Now
- Hit the Active to active the theme after it is successfully uploaded
Header
1. Site title After login your dashboard, go to Setting-General, set your site title and title tags.
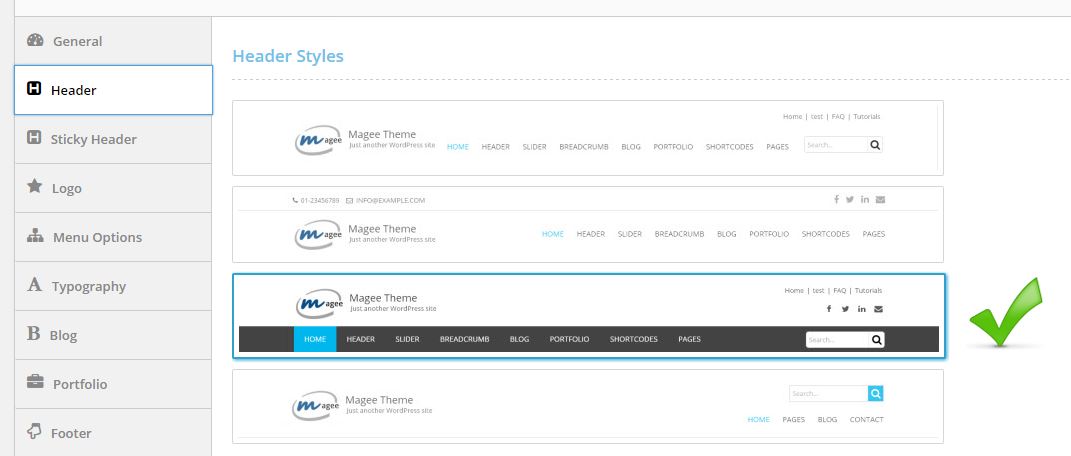
2. Header Styles Go to Appearance-Theme Options-Header, here you can set the header for your site.
There are three styles available, just select the one you prefer. Here are the differences between the three styles:
- Select the style
- Hit Save Changes
3. Upload Logo
- Go to Appearance-Theme Options, hit Logo.
- Hit the plus icon next to the box below Upload Logo to upload your logo
- Click Save Changes when the logo is successfully uploaded
Change logo: hit the minus icon below to remove the previous logo and then upload a new one, click Save Changes at last. 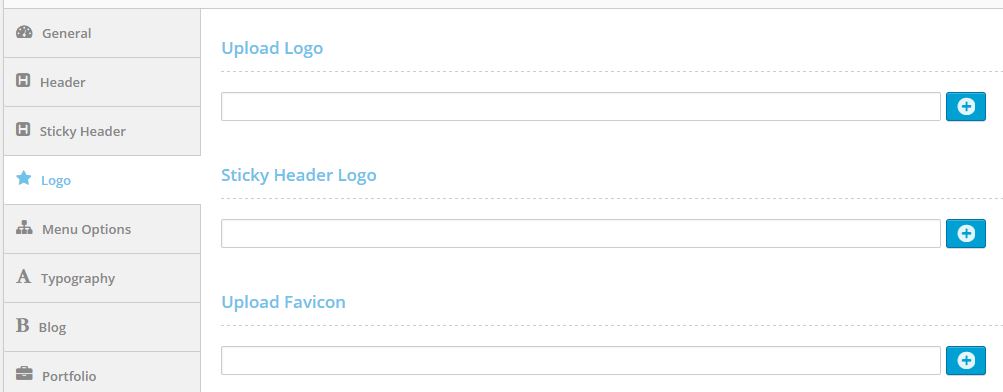 4. Custom Header 4.1. Header Text
The Header Style 2 allows adding some texts, for example, your phone number and emailing address above the logo. If you select this style, you can custom the texts in box below Header Text(Header Style 2).
The default texts are a phone number and an email address, you can change the icon and add something else. To find Font Awesome Icons here: /onetone/font-awesome-icons/ 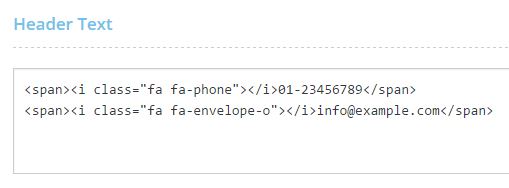 4.2. SNS Icons
The Header Style 2 and 3 allows to add SNS icons to header. The icons are preloaded which cannot be changed, you just need to add your links here.
e.g. Facebook
Hit the Pen icon, at the end, add your Facebook link to the box.
If you want to remove the Facebook icon, hit the Recycle Bin at the end of the box.
Re-order the icons
Hover over the box to move up or down to re-order the icons.
 5. Sticky header Go to Appearace-Theme Options, click Sticky header. 5.1. Choose to enable or disable the sticky header.
5.2. Set the sticky header opacity or transparence
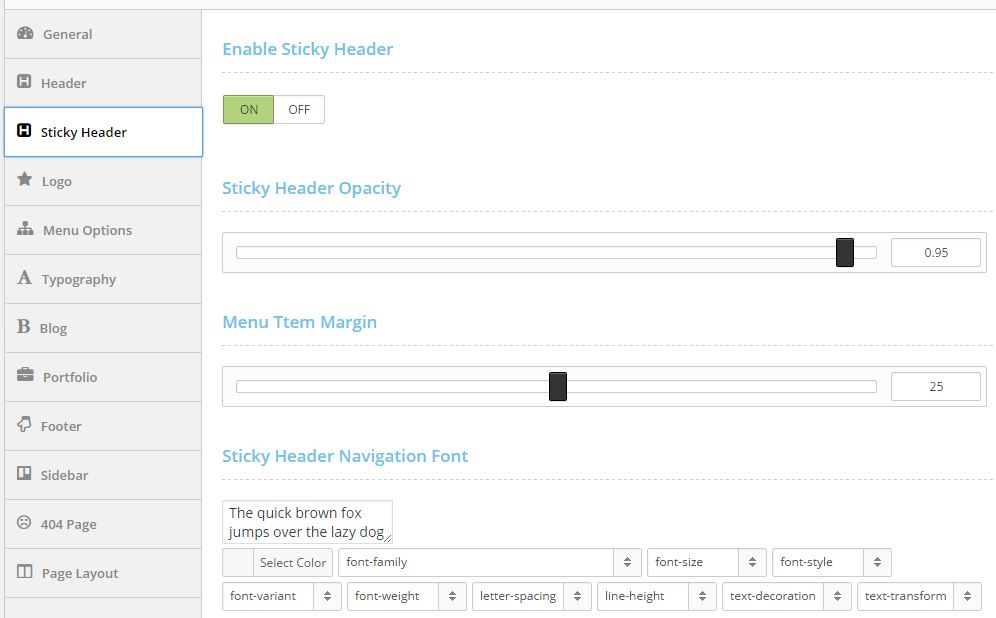 5.3. Set menu margin (space between pages in the menu)
5.4. Set sticky header navigation font color, size, style etc. 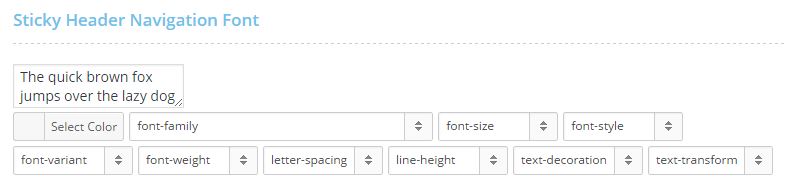
Footer
Go to Appearance-Theme Options, click Footer.
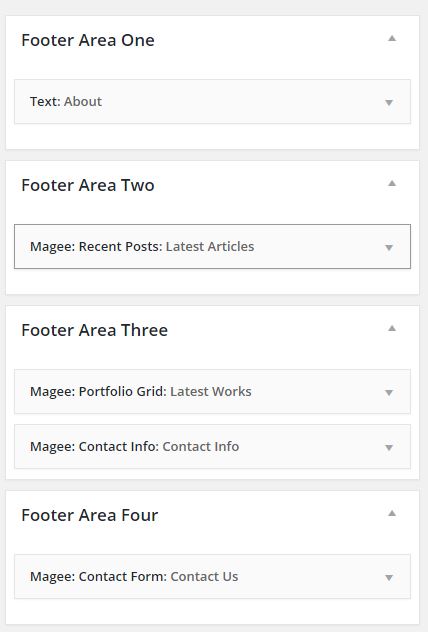
By default, the Footer Widget Area is ON, you can turn it to OFF if you do not need foot area. 1. Edit Footer content Go to Appearance-Widget, in the right column, you can see four Footer areas, drag the widget from the Available Widgets area to each footer area, and input the content to the widget.
 2. Footer Area Background You can set properties like upload background image, set background color, repeat, position, etc.
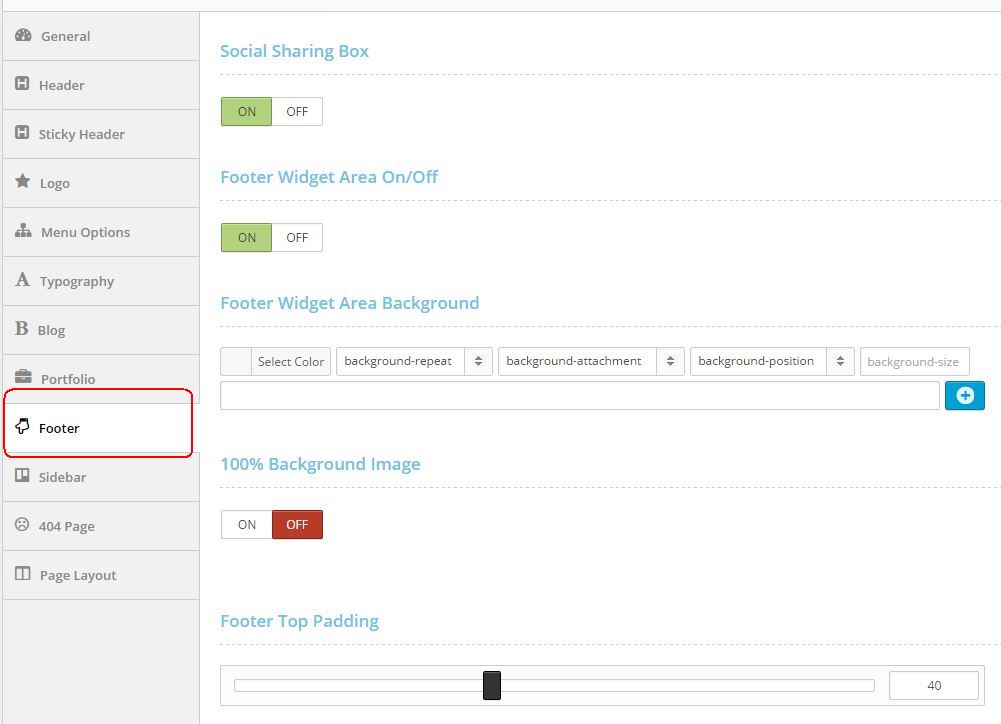
Sidebar
1. Default sidebar Go to Appearance-Widget, in the middle column, you can set the sidebars.
Drag the widgets you want to show next to your pages, posts and portfolios. 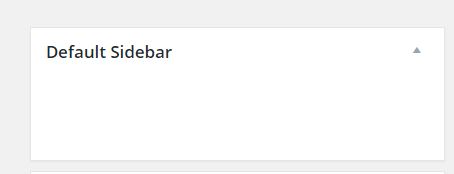 2. Custom sidebar The custom sidebar can be added next to the pages only.
2.1. Add custom sidebar
Go to Appearance-Theme Options, hit Sidebar, click Add New, then input the title. At last, hit Save Changes.
2.2. Edit custom sidebar
Go to Widget, in the right column, you can see the custom sidebar you added, drag the widget to the sidebar to show the content you need. 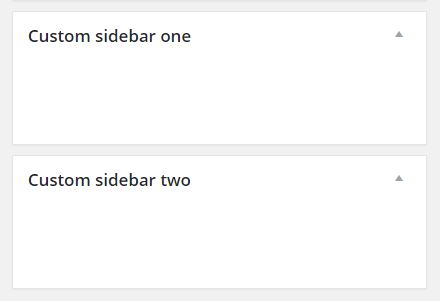
Custom Menu
1. Go to Appearance > Themes in the WordPress menu
2. Click on Create a new menu link
3. Give a name to your menu in Menu Name and click Create Menu button
4. Now choose the pages, categories, custom links from the left-side of your screen by selecting the checkbox and click on Add Menu
5. Click Save Menu after adding required pages, categories in the menu
Homepage Slider
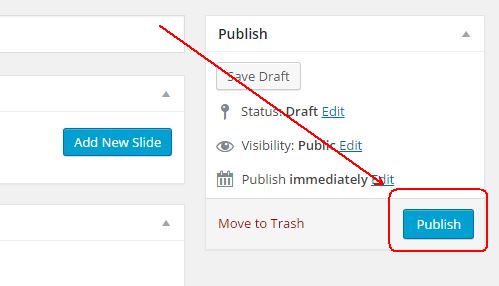
1. Add Slider In the Dashboard, Hover over Sliders, and click Add New, give a name to it. You can add many sliders.  2. Upload slides to slider Select the slider and then click on Add New Slide to upload new images to the slider, or choose from the media library. 3. Add Slide title and caption After the slide is added successfully, add the title and caption. 4. Publish slider After finishing adding slides to slider, hit Publish to publish the slider.
 5. Add to homepage Go to your homepage, in the Visual mode, click the Magee Shortcode icon and select Slide, then Select the slider to show in the homepage.
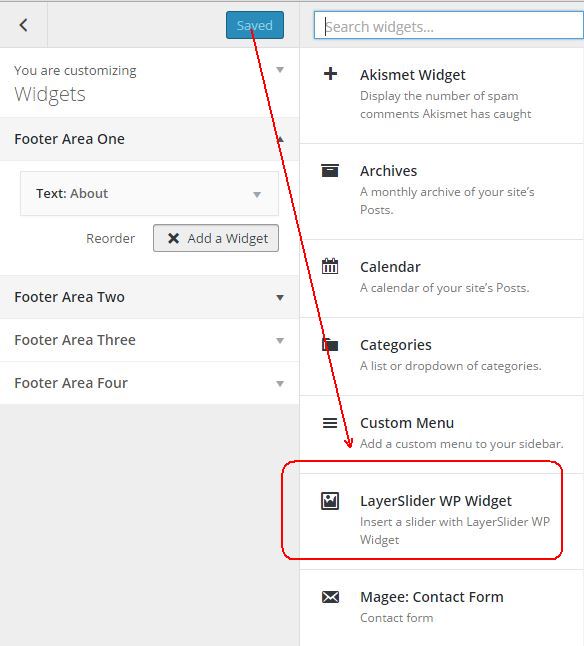
Home Page Sections
Thanks to the Shortcode, it is very easy to create an amazing homepage because you can insert almost anything you need including Slogan, Service, Testimonials, Client, List, and more to the homepage. Here take Solgan and Service for example to show how. 1. Slogan 1.1. Select Slogan code
In the Visual mode when you edit the homepage, hit the Shortcode icon, select Slogan
1.2. Add button title and text content
1.3. Click on Insert Shortcode
 2. Service 2.1.Choose columns according to your items number, e.g. you get 4 items to display, in the medium grid(>992), select 3/12(3 represents the width of each item, 12 the whole width).
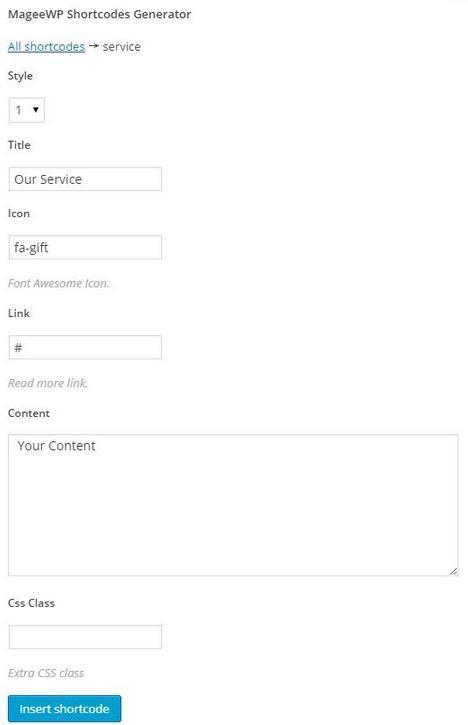
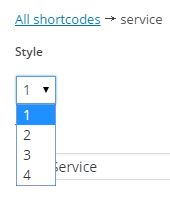
2.2. Select service style
Select Service after you hit Shortcode icon, then you can choose the service style you prefer, four styles available. Click here [shortcode url] to see the styles.
2.3. Input necessary text
2.4. Repeat the operation 2.2 to add items to columns.
3. Add animation effects to your content Animation shortcode is used to add animation effect to your texts, images and icons in your content. 15 animation effects are available now.
3.1. Open Magee shortcode generator, select Animation
3.2. Set animation speed
3.3. Select animation type
3.4. Enable or disable image animation
3.5. Add your content  For more information about using shortcode
Active Homepage And Blog Post Page
Go to Settings-Reading, in the Front page displays, select Home as front page, and Blog as posts page.
Setup blog page:
1. Go to Pages-Add New, name it Blog other something else
2. Publish the page with no content.
3. Add Blog page to the menu you created. 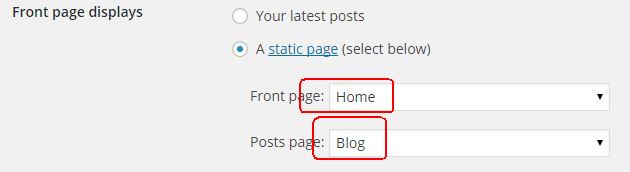
Page Setting
Aside from general settings, Magee add more options to page settings. 1. Breadcrumb You can choose either display breadcrumb or not above your pages 2. Content width Boxed and Full width options are available 3. Layout Three layouts are provided: right-sidebar, left sidebar, and no-sidebar 4. Sidebar You can choose default side or custom sidebar. 5. Background Changing background color, upload background image, set background properties, etc. 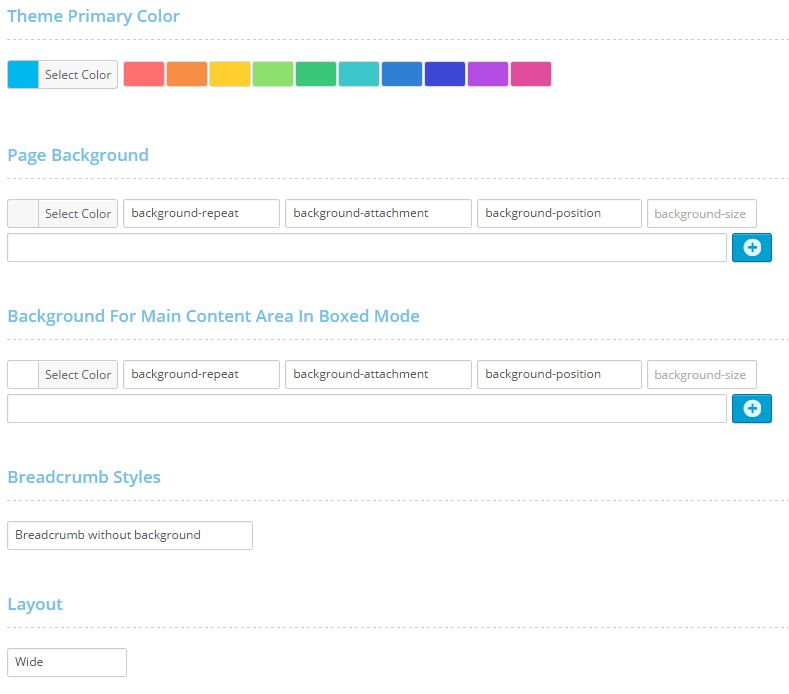
Post Setting
Just like to page, three layouts are provided: right-sidebar, left sidebar, and no-sidebar.
At the End
We have tried ourselves to make the guide simple and helpful; if you have other problems, feel free to contact us for help.