How to Change Font in WordPress
In this article, I will introduce two ways to change font in wordpress, one is simple and another is advanced and bit complex but more useful in some scenario.
Simple Way: Use the WordPress Plugin
There are a lot of plugin about changing font in wordpress plugins library. In there, I will introduce two, but you can search and try more by yourself, because each plugin has the pros and cons.
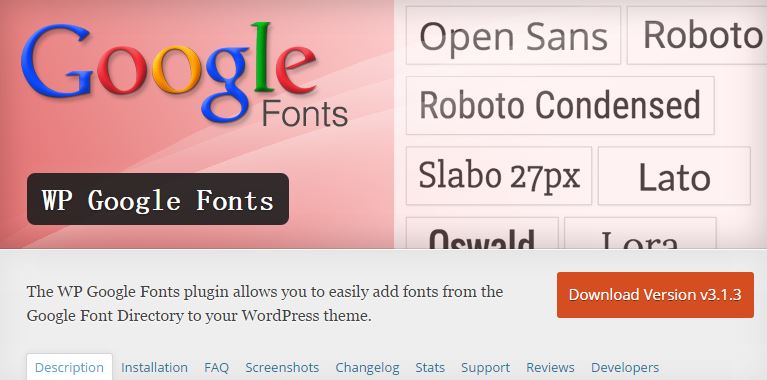
WP Google Fonts
The Pros
- Easy to use
- Access to a huge number of Google fonts
The Cons
- Unable to preview fonts
- Unable to upload custom fonts
Conclusion
WP Google Fonts couldn’t be more simpler to use. This plugin places the entire Google Font Directory at your finger tips, allowing you to choose from the vast number of fonts available for free. Unfortunately, this fantastic plugin loses points for the inability to upload custom fonts.
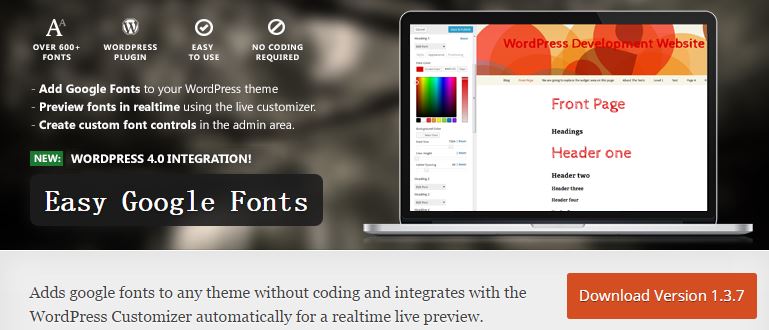
Easy Google Fonts
The Pros
- The ability to preview custom fonts in the Customizer before saving them
- Powerful customization
The Cons
- Confusing settings page. It’s not clear that you need to use the Customizer
Conclusion
Easy Google Fonts gives you incredible control over how you integrate custom fonts your on your website. It’s easy to use (once you work out you need to use the Customizer) and you can tweak the font on just about every element on your site.
Advanced Way: Use the CSS3
Custom fonts are among the most potentially appealing aspects of CSS3 for designers. With the font-face rule, you can render any font you have online within your web page text, regardless of whether the user has it installed or not.
Choose The Font
First, make sure that the font you choose to use is licensed for web use. Almost all free fonts can be used on a website and many premium fonts are available with a license that covers web usage.
Upload The Font
Upload your chosen font to your server. You may wish to store it in a dedicated “fonts” directory but this is optional. Make a note of where the font files are stored on your server.
Remember to include the files for any variants of the font you plan on using, such as bold or italic. You can use EOT (Embedded OpenType) files for Internet Explorer and either OTF (OpenType) or TTF (TrueType) for the rest. (Additional options include WOFF (Web Open Font Format) and SVG (Scalable Vector Graphics) but we will stick to more common types here.)
Add A Font-Face Section To Your CSS Code
Open the HTML or CSS file for the page you are working with. In WordPress, that could be the style.css which in your wordpress theme’s root directory. When you edit the css file, I suggest to use a child theme to to it, that’s a safe way to change your theme, and when you theme update, the change will reserve.
Add a font-face declaration to the style code like below:
@font-face { }
First inside the font-face section, give the font a name you can later use to refer to it:
font-family: 'lovelyFont';
Next, still inside the font-face section, provide the location of the EOT file:
src: url('fonts/lovely_font.eot');
Alter the location and name of the font as necessary. Next add an OTF and/or TTF font:
src: url('fonts/lovely_font.otf') src: url('fonts/lovely_font.ttf')
This is the bare bones of the necessary code, which will be sufficient in many cases. However, there are additional steps we can take to make the code more reliable. First extend this section to include an indicator of the font file type:
src: url('fonts/lovely_font.otf') format('opentype'); src: url('fonts/lovely_font.ttf') format('truetype');
As another optional efficiency measure, we can get the browser to check for a local copy of the font in case the user already has it. Extend your code again as follows, adding the local section before specifying the URL, so that the font is only downloaded if necessary:
src: local('Lovely Font'), local('Lovely-Font'), url('fonts/lovely_font.otf') format('opentype'); src: local('Lovely Font'), local('Lovely-Font'), url('fonts/lovely_font.ttf') format('truetype');
The addition is the same for both OTF and TTF. We specify the font name after the local keyword.
In this case we have two lines specifying the local font because the font name has more than one word in it. The hyphenated version caters for the way font names are stored on certain operating systems – this additional line is not necessary if the font only has a single word in its name. If you happen to know that a font can have different names on different systems, include each of the possibilities in your local section.
Apply The Font To Page Elements
Finally we can apply the font to the page elements. In the CSS code for a particular element, or group of elements, simply specify the font name you used, including any fallbacks you choose:
div { font-family: 'lovelyFont', sans-serif; }
Include Font Variants
If, for example, you want to use a bold version of your font as well, simply include another font-face section with the bold font file URL and a declaration of “font-weight:bold;”. Specify a font weight of bold for any element with the custom font applied to it and the browser will automatically render the bold version:
/*default version*/ @font-face { font-family: 'lovelyFont'; src: url('fonts/lovely_font.eot'); src: local('Lovely Font'), local('Lovely-Font'), url('fonts/lovely_font.otf') format('opentype'); } /*bold version*/ @font-face { font-family: 'lovelyFont'; src: url('fonts/lovely_font_bold.eot'); src: local('Lovely Font Bold'), local('Lovely-Font-Bold'), url('fonts/lovely_font_bold.otf') format('opentype'); font-weight: bold; } /*container element*/ div { font-family: 'lovelyFont', sans-serif; } /*span elements inside the container div*/ span { font-weight: bold; }
Simple Example
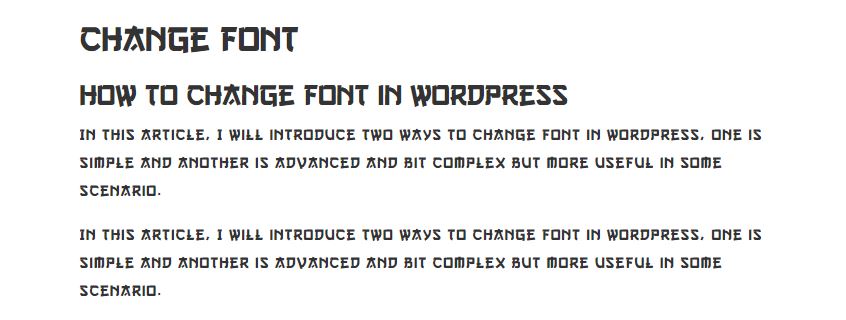
At last, I will show you a simple example about font go3v2.
Create a folder named “fonts” in your theme root directory, then upload the font file go3v2.ttf to it.
Add the codes below to your style.css
@font-face{ font-family: 'go3v2'; src: local('go3v2'), url('fonts/go3v2.ttf') format('truetype'); }
Then go where you want to use the font and put the codes like below:
<h1 style="font-family:'go3v2',sans-serif;"> Change Font</h1> <h2 style="font-family:'go3v2',sans-serif;">How to Change Font in WordPress</h2> <p style="font-family:'go3v2',sans-serif;">In this article, I will introduce two ways to change font in wordpress, one is simple and another is advanced and bit complex but more useful in some scenario.</p> <p style="font-family:'go3v2',sans-serif;">In this article, I will introduce two ways to change font in wordpress, one is simple and another is advanced and bit complex but more useful in some scenario.</p>
Then you will get the result.
Good luck!